Master the Rhombus Shape
from recognition to construction

The Rhombus Shape is usually introduced to your child in First Grade. When this shape is introduced it usually coincides with the introduction of the kite shape.
The reason for this is due to the similarities of the two. It is important to note here, that a rhombus is a kite, but a kite is not necessarily a rhombus.
Five steps to mastering the rhombus
The five steps detailed bellow take you from basic identification all the way through to taking a detailed look at the construction of the rhombus.
These steps also include 'pit stops' to complete fun geometry projects and coloring sheets.
These are nice 'breathers' on the learning curve, but they are excellent ways of reinforcing the new knowledge in ways that your kid can get a real life, hands on approach to understanding the basic geometry concepts included.
Okay, so let's get started ...
Identify the Rhombus
How do we know what we look at is a Rhombus?
First and fore most it is a quadrilateral as it is a 4 sided plane shape.
- It has 4 lines equal in length.
- The Angles opposite each other are equal in size.
- The diagonals intersect at 90 degrees
- It is a Simple Quadrilateral (The sum of its angles is 360 degrees)
- It is a parallelogram
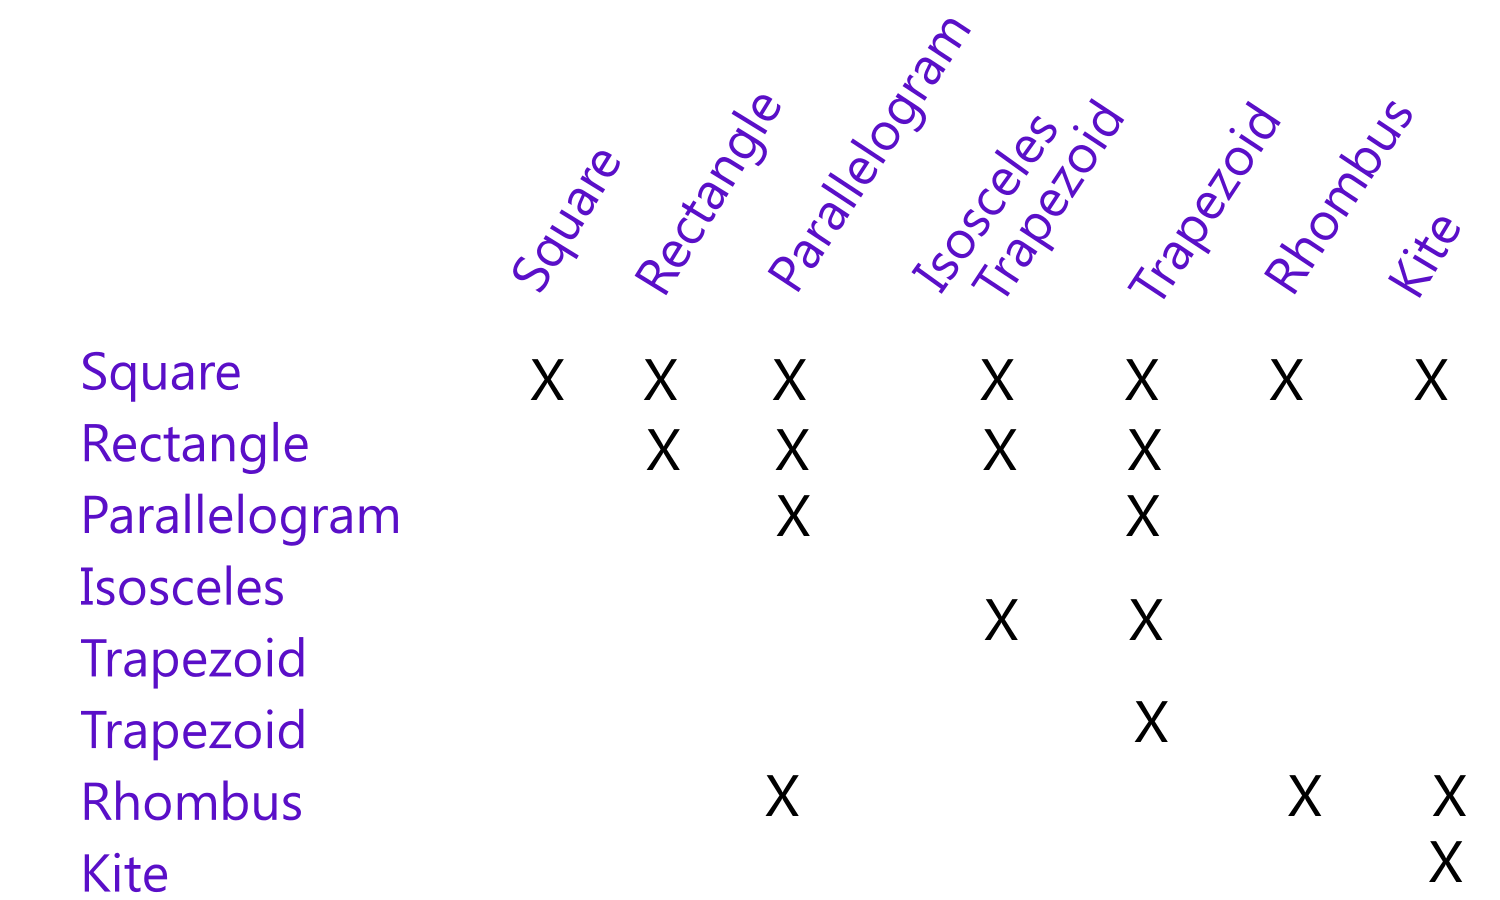
The table bellow is intended to be read from left to right. Chose any shape from the left hand column, and by moving right, you can see what other shape qualities it possesses.
Simple Quadrilaterals
Once your child is comfortable with how to recognize the shape, offer them some shape worksheets to see how they get on with identifying this shape when compared with others.
You may also find our Quadrilateral Family Tree Printable a useful tool to offer your child.
Calculate Area and Perimeter
Please note your child WILL be expected to remember these formula.

The Area of this shape is calculated by multiplying its base by its height.
If you are only given the lengths of the diagonals you can also use this formula:

You can see that this is in fact the same formula for calculating the area of a kite.
If your child has problems understanding the concept of Area, I recommend working with second grade 'grid method' worksheets first, and then move on to fourth grade worksheets using numbers and finally word problems.
Perimeter
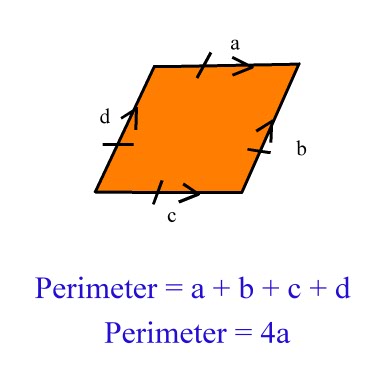
The Perimeter</b> of ANY shape is simply the sum total of all the lengths of the shape.
The perimeter of a rhombus is the sum of its lengths.
However, since ALL sides are the same length, the formula is simplified to reflect this!
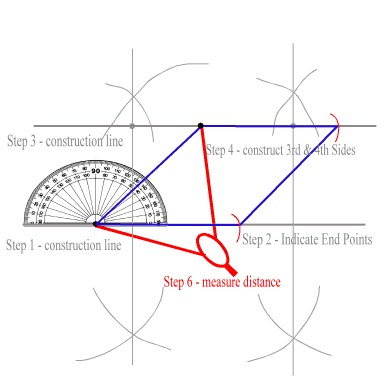
Construct a Rhombus
To complete this, you will need a ruler, pencil, compass, protractor, and a blank piece of paper!
Note: This construction is based upon having the knowledge of the perpendicular height of the rhombus along with the size of one angle. [For this example I will construct with an angle of 45 degrees]
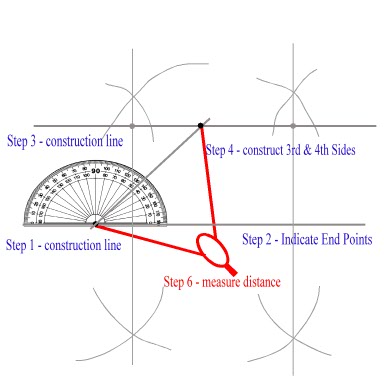
Step 1: Draw a straight line lightly using your ruler and pencil on your paper. - This is what we call a construction line, and will be the base of your shape.
Step 2: Indicate one point which will be the bottom left hand vertex (corner).
Note: We know that the top and base line of your rhombus are parallel, and, we know the distance between them (the height of your shape)
Step 3: Using your compass, construct two lines (lightly) perpendicular to your base. On both of these lines measure the height of your rhombus, and indicate with two points (one on each perpendicular) Connect these two points using a light construction line. The second side of your rhombus will be 'somewhere' on this line.
Step 4: Using your protractor, situated on the first point you made (in Step 2) measure your angle - in this example 45 degrees.
Step 5: Connect the points of intersection, to make the third side of your rhombus.
Step 6: Now use your compass to 'measure' the distance of this line segment. As all the sides of a rhombus are equal in length, you can use this same distance to find the third and fourth points of intersection to create your fourth and final side.
Step 7: Your rhombus shape is contained between the four points of intersection of these four lines.
Step 8: Using a heavier line connect the four points to finish your shape.
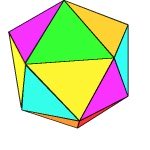
Relationship to 3D Shapes
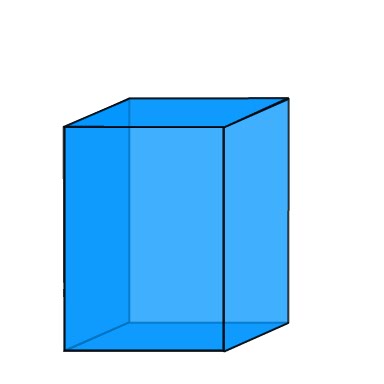
There are no 3d Figures an elementary student will have to study in relation to the rhombus, but it would be good to have them compare a prism made with a rectangle and a rhombus. The latter will in fact be an oblique cuboid.
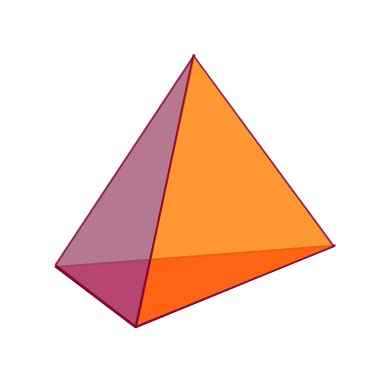
Bellow is a diagram of a trapezoidal prism, deconstructed into two triangular prisms and a Cuboid.
Any prism created using a parallelogram (and a rhombus is a parallelogram), can indeed be deconstructed in a similar fashion.

It would also be a very good idea to compare this shape to other quadrilaterals.
Geometric Coloring
The use of coloring sheets allows your child to start experimenting with different shapes. A great first step is to encourage your child to color in shapes adjacent to each other with the same color, until their shape starts to look like 'something'.
Perhaps that something will be a rectangle or a house. By doing this, your child will start to realize the connection between the shapes. You will find some nice free geometric coloring pages to download here.
Return from the rhombus shape to our Polygon Section or the Quadrilaterals Section.
I am sure you will find all the information and worksheets you need here, however if there is anything you cannot find please don't hesitate to contact me or simply visit the MathMomentumCommunity and join the conversation!
I love to hear from my readers, and with a little feedback and a few suggestions I can make this a great resource for parents, teachers and tutors alike.
Be sure to explore everything on this site starting at the home page.
Follow on Facebook
Essential Skills

ONLINE TUTORING 4 MIDDLE & HIGH SCHOOL
Recent Articles
-
Triangular Prism - Everything you need for the Elementary Math Student
Mar 17, 10 12:20 PM
Get your Triangular Prism questions answered in one place - Right Here!