Master the Equilateral Triangle with these Seven Specific stages.

The equilateral triangle is an excellent triangle for the K-6 student to study, as not only does it have three sides of equal length, but this also implies that it's three angles are also of equal size. This is why this triangle is also sometimes referred to as an equiangular triangle.
The seven steps detailed bellow take you from basic identification all the way through to taking a detailed look at the theorems involving the equilateral triangle.
These steps also include 'pit stops' to complete fun geometry projects and coloring sheets.
These are nice 'breathers' on the learning curve, but they are excellent ways of reinforcing the new knowledge in ways that your kid can get a
real life, hands on approach to understanding the basic geometry concepts included.
Okay, so let's get started ...
 |
Identify - How do we know a triangle is equilateral? |
An Equilateral Triangle is identified by the length of its sides. If all three sides of the triangle are equal in length then the triangle is Equilateral.
And that's all there is to it! Of course to be able to do this, your child must be at the minimum able to visually identify lines as being longer, shorter or equal to each other.
This is a relatively easy skill for you to work on with your child. Simply drawing lines on a sheet of paper and asking if they are the same or different first of all.
Then move on to asking which is longer or shorter and finally drawing lines relatively close in length to fine tune your child's skills of observation.
Once your child is comfortable with line length recognition, offer them a
triangle worksheet or two, to see how they get on with identifying triangles.
 |
Calculate Area & Perimeter of an Acute Triangle |

The Area of this type of triangle is calculated the same way as EVERY triangle. It is always half the length of the base multiplied by the perpendicular height of the triangle.

The Perimeter of ANY shape is simply the sum total of all the lengths of the shape - and a triangle is no different.
 |
How to construct an Equilateral Triangle |
Approach 1 - Using a Protractor
Step 1: Draw a straight line lightly using your ruler and pencil on your paper. - This is what we call a construction line.
Step 2: Indicate on this line, one point - this point will be one of the vertices of your triangle.
Note: We know that the three angles of any triangle add to 180 degrees. In an equilateral triangle, we know the three angles are equal; so each angle is 1/3 of 180 degrees which is 60 degrees.
Step 3: Using your protractor, find the point at 60 degrees to your first line, mark it, and draw a construction line.
Step 4: Returning to the first line you drew on your page, measure another 60 degree angle, but in the opposite direction to the first (to make a triangular shape!)
Step 5: Your Equilateral triangle is the shape contained between the three points of intersection between these three lines.
Step 6: Using a heavier line (I use blue in my diagrams) connect the three points to make your triangle.
 |
 |
 |
Approach 2 - Using a compass

Step 1: Draw a straight line, lightly, using your ruler and pencil on your paper. Indicate one point on this line to be one of your triangles vertices.
Step 2: Set your compass width to the length of the triangle you wish to construct. You can do this using your ruler to measure your length.
Step 3: Putting your compass on this point, construct a large arc that intersects the line you drew and goes somewhere close to where you would estimate the third vertex to be. The point of intersection gives you your second vertex, and the third point is 'somewhere' on this arc!
Step 4: Keeping the same measurement on your compass, put your compass on your second vertex and construct a second smaller arc to intersect the first large arc.
This point of intersection is your third and final vertex.
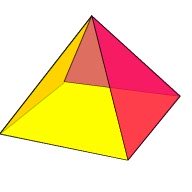 |
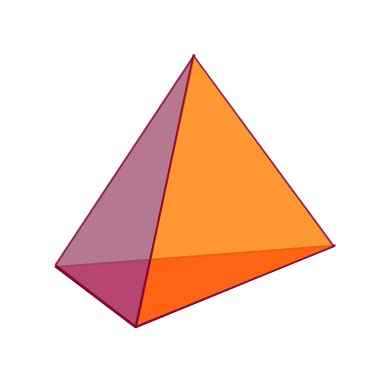
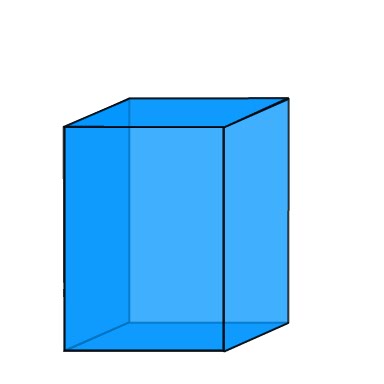
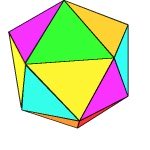
Relationship to 3D Shapes |
The 3D Figures a Kindergarten through Sixth grade student is most likely to deal with is are the Pyramid and Trianglular Prism, and if they are interested and being challenged, possibly the Platonic Solids.
 |
Geometric Coloring Sheets |
The use of coloring sheets allows your child to start experimenting with triangles. A great first step is to encourage your child to color in triangles adjacent to each other with the same color, until their shape starts to look like 'something'.
Perhaps that something will be a rectangle or a house! By doing this, your child will start to realize the connection between different shapes. You will find some nice free geometric coloring pages to download and get started with.
 |
Fun Geometry Projects |
Coming soon!
 Pythagoras |
Theorems & Proofs |
Coming soon!
I have created Free printable triangle worksheets for you to offer your child for more practice. Download, print and give them to your kids. They're available 24/7!
I am sure you will find all the information and worksheets you need here, however if there is anything you cannot find please don't hesitate to contact me or simply visit the MathMomentumCommunity and join the conversation!
I love to hear from my readers, and with a little feedback and a few suggestions I can make this a great resource for parents, teachers and tutors alike.
Be sure to explore everything on this site starting at the home page.
Return from this Equilateral Triangle page to our Different Types of Triangles Section.
Or
Return from this page to K6 Geometric Shapes Home Page, to explore all the other great sections I have to offer.
Follow on Facebook
Essential Skills

ONLINE TUTORING 4 MIDDLE & HIGH SCHOOL
Recent Articles
-
Triangular Prism - Everything you need for the Elementary Math Student
Mar 17, 10 12:20 PM
Get your Triangular Prism questions answered in one place - Right Here!